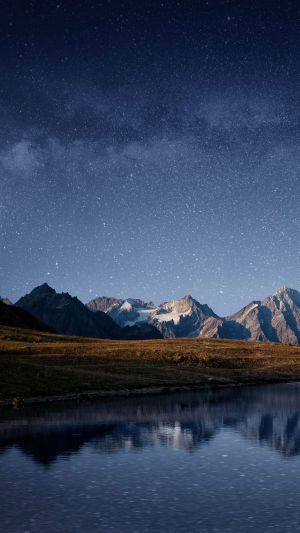
Photographing the Milky Way Arch Bridge presents a captivating opportunity for astrophotographers and night sky enthusiasts alike.
This magnificent natural wonder, located in a remote region, offers a remarkable backdrop for capturing the celestial beauty of the Milky Way. To ensure you capture the essence of this stunning phenomenon, here are some indispensable tips to elevate your Milky Way Arch Bridge photography.
1. Research the Optimal Time and Location:
Timing is crucial when photographing the Milky Way Arch Bridge. Plan your shoot during a new moon phase or when the moon is below the horizon to minimize its brightness. Use astronomy apps or websites to determine the precise time of the Milky Way's alignment with the bridge. Research the location in advance, as remote areas with minimal light pollution will offer the best conditions for capturing the bridge and the night sky.
2. Arrive Early and Scout the Area:
Reach the location well in advance to familiarize yourself with the surroundings. Explore different angles, compositions, and potential foreground elements to enhance the visual impact of your photograph. Note any potential obstacles, such as trees or uneven terrain, that could hinder your composition later on. Patience and preparation are key to capturing the perfect shot.
3. Use the Right Equipment:
To capture the Milky Way Arch Bridge in all its glory, you'll need specific gear. A sturdy tripod is essential for stability during long exposures. Use a wide-angle lens with a large aperture (f/2.8 or wider) to gather as much light as possible. A remote shutter release or intervalometer will help minimize camera shake, ensuring sharp images. Don't forget to bring spare batteries and memory cards, as long exposures can quickly drain power and fill up storage.
4. Set Up for Success:
Once on location, find a stable spot for your tripod and level it to maintain a straight horizon. Compose your shot, ensuring the Milky Way aligns with the bridge pleasingly. Experiment with different angles and compositions to add interest to your photographs. Consider including elements like leading lines, foreground objects, or reflections to create a sense of depth and perspective.
5. Nail the Exposure:
Achieving the correct exposure is crucial for Milky Way Arch Bridge photography. Start by setting your camera to manual mode. Use a high ISO (typically between 1600 and 3200) to capture the faint light of the stars. Begin with a wide aperture to gather as much light as possible, but be mindful of maintaining sharpness across the frame. Experiment with different shutter speeds, typically ranging from 15 to 30 seconds, to avoid star trails and capture fine details.
6. Focus on Infinity:
Achieving precise focus can be challenging in low-light conditions. Switch to manual focus and set it to infinity (∞). Use Live View mode to zoom in on a bright star and fine-tune your focus manually. Double-check your focus periodically, as temperature changes or accidental adjustments may occur during the shoot.
7. Experiment with Light Painting:
To enhance the foreground and add depth to your composition, try light painting techniques. Use a handheld flashlight or a remote-controlled LED light to selectively illuminate the bridge or other elements in the frame. Be mindful of the light's intensity and direction to create a natural-looking effect.
8. Post-Processing for Perfection:
In post-processing, unleash the full potential of your Milky Way Arch Bridge photographs. Adjust the white balance to eliminate unwanted color casts and enhance the night sky's natural tones. Use noise reduction techniques to minimize the noise resulting from high ISO settings. Fine-tune the contrast, clarity, and vibrance to bring out the details and make the image pop.


